Japan eSIM, IC Card, and Rail Pass Setup for 2026 Trips
A practical 2026 Japan arrival guide covering eSIM timing, Suica/PASMO options, JR Pass math, luggage reservations, and airport setup order.
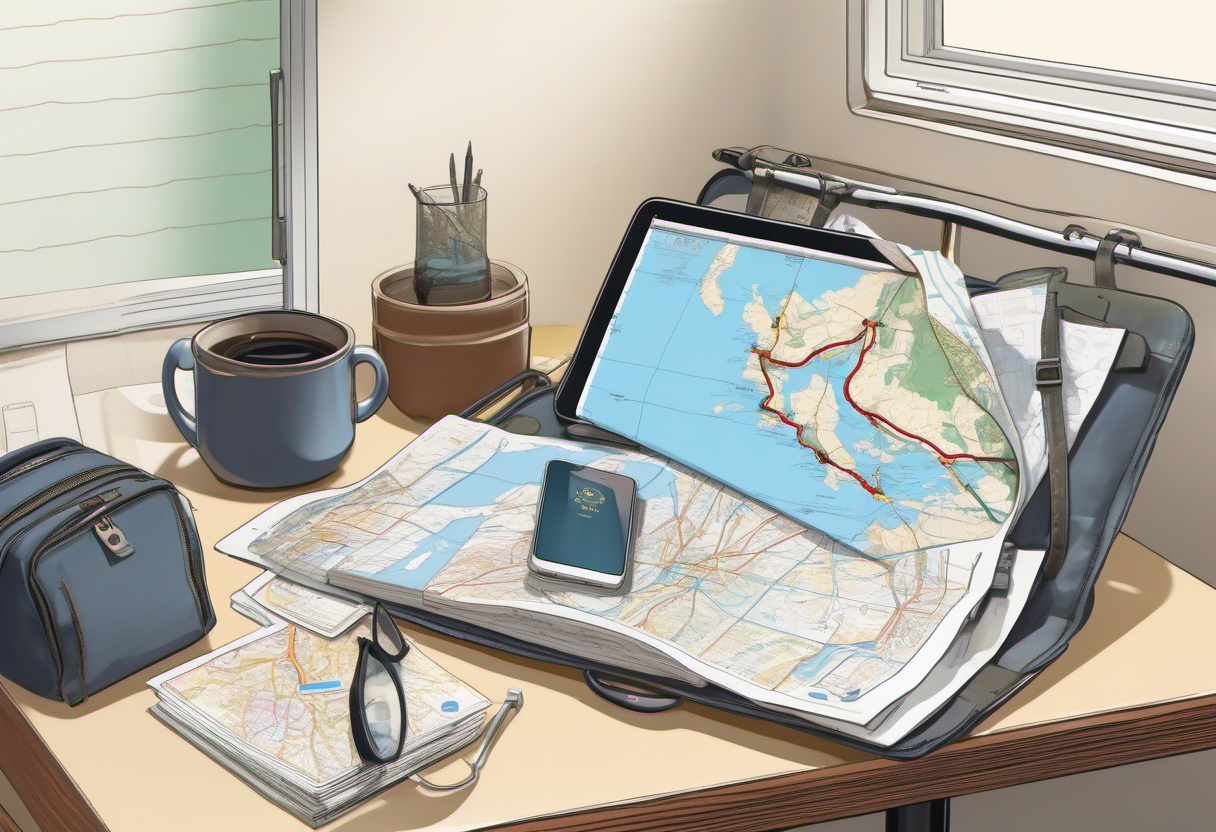
A Japan trip can feel effortless once you are moving: trains run frequently, convenience stores solve small problems, and airport arrivals are usually orderly. The friction appears earlier, in the first ninety minutes after landing. You need mobile data before you can message your hotel. You need an IC card before the airport train or subway feels easy. You need to know whether a rail pass is actually saving money. If you bring a large suitcase, you may need a Shinkansen luggage reservation before the long-distance leg. None of these tasks is difficult alone, but the wrong order creates avoidable stress.
This guide treats Japan arrival planning as a setup sequence rather than a collection of travel hacks. The goal is to land with the essential digital pieces already prepared, choose the right payment and rail tools, and avoid buying a national pass or luggage option that does not match the route you are actually taking. It is written for independent travelers, families, and first-time Japan visitors who want a practical 2026 workflow based on official rules and operating realities.
The Correct Setup Order: Data, Arrival Forms, Local Payments, Then Rail Decisions
The most reliable sequence is simple: prepare mobile data first, complete arrival paperwork before landing, set up an IC payment method for local movement, then decide whether a rail pass belongs in the itinerary. Many travelers reverse that order because the Japan Rail Pass is the most famous product. That is a mistake. A pass is only one tool; data and local payments support almost every day of the trip.
Start with your phone. If your device supports eSIM and is carrier-unlocked, buying a travel eSIM before departure is usually the lowest-friction option. Install the eSIM profile while you still have home Wi-Fi, take screenshots of the activation instructions, and keep your primary SIM active for bank messages or two-factor authentication if your plan allows it. Do not assume you can solve this after landing without data. Airport Wi-Fi exists, but it is less convenient when a family member is waiting, bags are arriving, or a login code is sent to a number you cannot access.
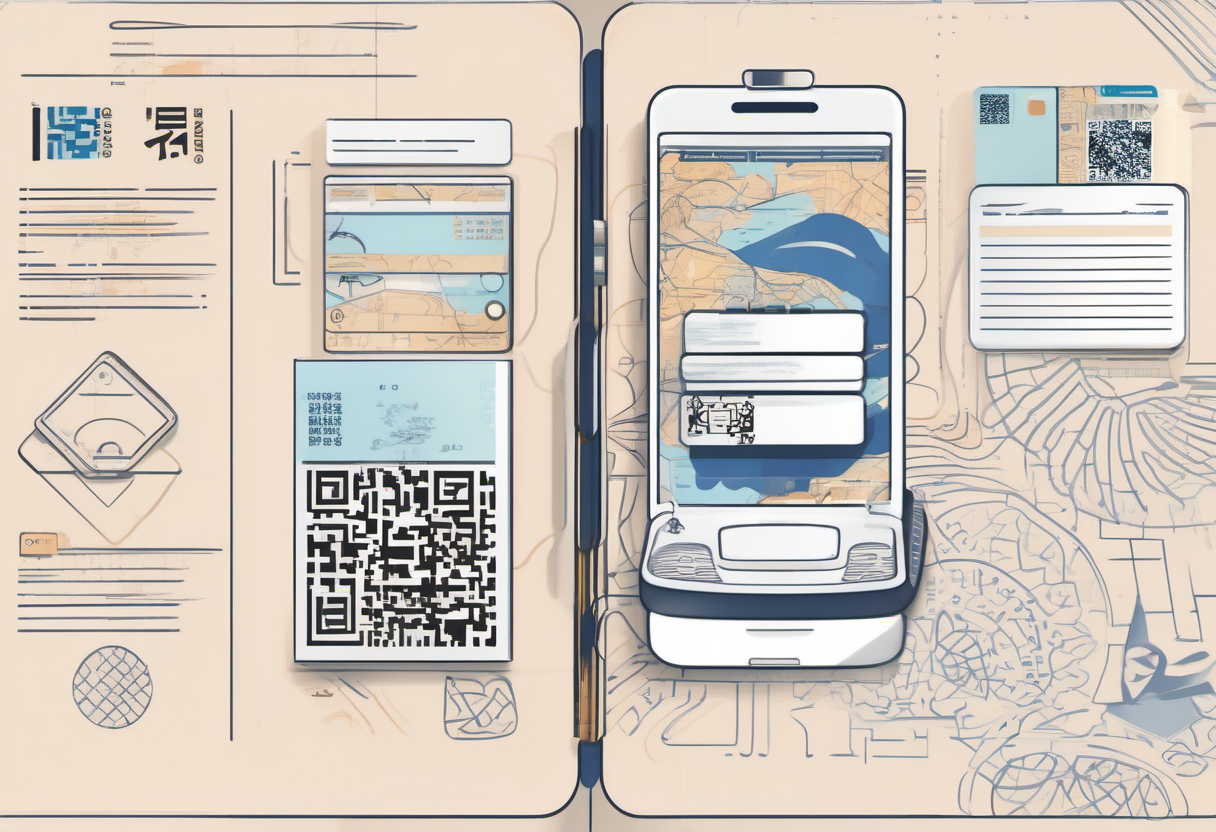
Next, prepare Visit Japan Web. Japan’s Digital Agency describes it as the online service for arrival procedures including immigration, customs, and tax-free shopping service. You should still carry your passport and any required paper backup, but completing the digital workflow before departure reduces airport uncertainty. Save the relevant screen or access method in a place that does not depend on a weak signal.
Only after those two pieces are handled should you focus on local payments and rail. An IC card, whether physical or mobile, is the everyday tool for city trains, subways, buses, coin lockers, vending machines, and convenience stores. The rail pass question comes later because it depends on exact intercity legs, dates, and operator coverage.
eSIM Strategy: Install Early, Activate Deliberately
An eSIM is most valuable in Japan because transit decisions are often made in real time. Platform changes, limited express seat searches, restaurant queues, hotel check-in messages, translation, and map exits all rely on quick connectivity. The practical question is not whether data is useful; it is how to avoid losing your connection at the airport.
Before buying, confirm three things. First, your phone must support eSIM. Second, it must be unlocked for non-home carrier profiles. Third, your travel eSIM should match your actual data needs, not the cheapest advertised package. A light traveler using maps and messaging may be comfortable with a modest plan. A family hotspot user, remote worker, or heavy video uploader needs more capacity or a backup plan.
Install the eSIM profile at home if the provider allows pre-installation. Read the activation rule carefully. Some plans start counting validity when installed; others start when the eSIM first connects to the destination network. If activation begins immediately, wait until closer to departure. If validity starts on first network connection, pre-installation is safer.
Keep your home line available if possible for SMS verification. Banking apps, airline accounts, and hotel portals may still send codes to your primary number. If you disable the home line completely, you may solve Japanese data while breaking account access. The cleaner setup is to use the travel eSIM for mobile data, leave the primary line available for calls or texts if roaming settings and cost controls permit, and disable unnecessary data roaming on the expensive line.
Airport pickup SIMs and pocket Wi-Fi still have a place. Pocket Wi-Fi can work well for groups with older phones, but it creates a single point of failure: one device must be charged, carried, returned, and kept near everyone who needs data. For solo travelers and couples with modern phones, eSIM is usually more flexible.
IC Cards: Your Daily Movement Layer
An IC card is not just a train card. It is the low-friction payment layer for small urban movements. In Tokyo, Osaka, Kyoto, Fukuoka, Sapporo, and many regional cities, tapping in and out is faster than buying a ticket for every local ride. It also reduces the cognitive load of comparing fares while jet-lagged.
For visitors, the main options are mobile Suica or PASMO on a compatible phone, visitor-oriented physical cards such as Welcome Suica or PASMO PASSPORT when available, or ordinary local tickets when cards are temporarily hard to obtain. Availability can change by airport, station, and chip supply, so the resilient plan is to decide your preferred option and know the fallback.
Mobile IC is convenient if your phone and wallet setup support it. You can top up digitally, avoid a physical card deposit, and use the phone for many local rides. The weak point is payment-card compatibility. Some foreign cards do not work reliably for mobile top-ups, and not every traveler wants transit access tied to phone battery life. If you rely on mobile IC, carry a small cash reserve and know where to buy paper tickets.
Physical visitor cards are useful for travelers who want a simple tap card without configuring a phone wallet. They are especially helpful for families, children, and people carrying phones that do not support Japanese transit cards. The tradeoff is availability and terms: visitor cards may have validity periods, limited refund rules, or purchase-location constraints. Check the official JR East and PASMO visitor pages shortly before travel rather than relying on an old blog post.
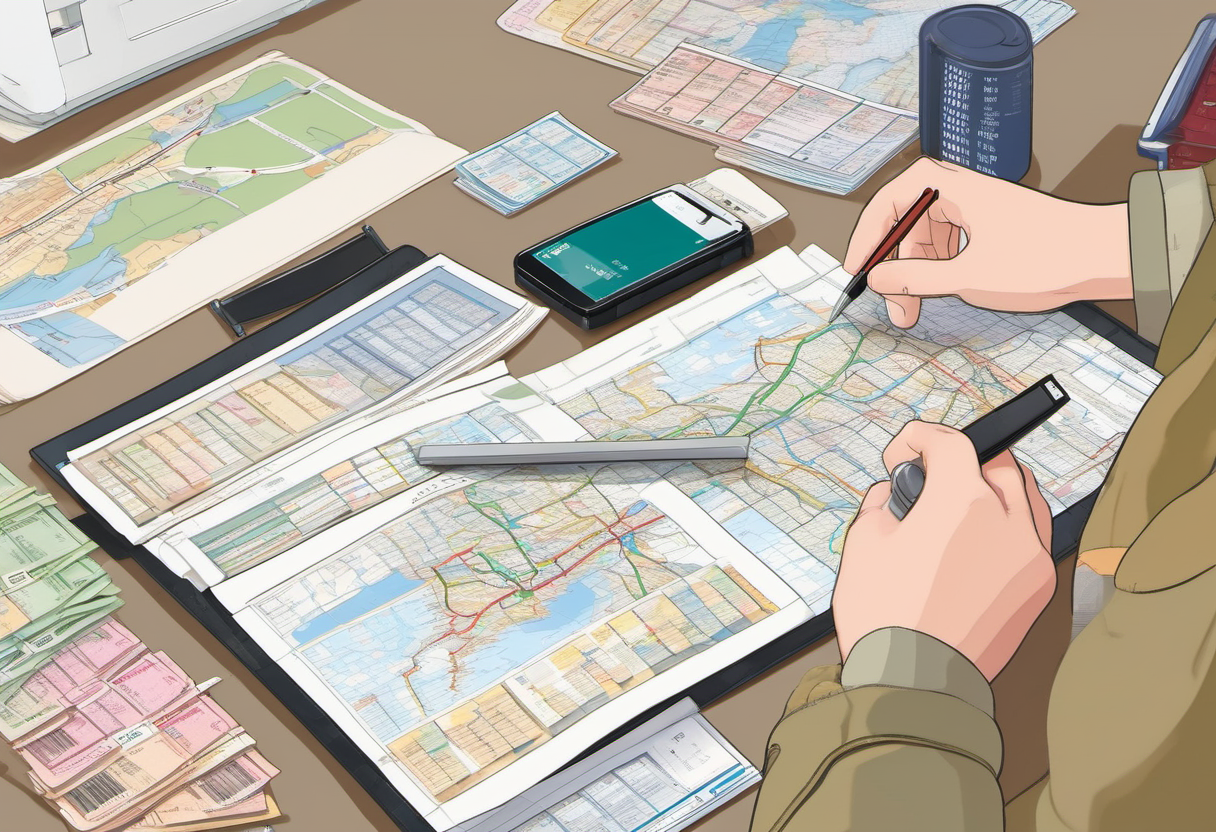
Rail Pass Math: Do Not Buy Fame, Buy Coverage
The Japan Rail Pass remains useful for the right itinerary, but it is no longer an automatic purchase for every first-time visitor. The expert approach is to price the exact route. Build a day-by-day list of long-distance JR legs, put them inside the pass validity window, and compare that total with the pass price. Then ask whether the pass creates operational benefits that justify a small premium: flexibility, fewer separate purchases, or last-minute route changes.
For many classic routes, point-to-point tickets or a regional pass can be better. A Tokyo to Kyoto to Osaka trip with several slow city days may not create enough JR value. A faster itinerary that adds Hiroshima, Kanazawa, Nagano, or repeated long-distance legs may change the calculation. Regional passes can be excellent when your trip concentrates in one area, but they also have boundaries. A Kansai-focused pass will not behave like a national pass, and a private railway or subway segment may still require an IC card or separate ticket.
Coverage matters as much as price. JR passes generally do not cover private railways, most subways, many buses, taxis, or non-JR airport transfers. Some Shinkansen services may have restrictions or supplemental rules depending on the product. Do not use the pass map as a vague promise. Use the official pass page and route tools, then verify the specific train type before planning a tight connection.
Seat reservations are another reason to plan deliberately. If you travel during cherry blossom season, Golden Week, Obon, New Year, or a major event weekend, reserved seats can matter more than the theoretical pass value. A pass does not guarantee the exact seat you want at the exact time you want it. Reserve critical long-distance legs as early as your ticket type allows.
Shinkansen Luggage: The Rule That Surprises Prepared Travelers
The luggage issue is not ordinary carry-on size. The specific risk is oversized baggage on certain Shinkansen routes. JR guidance defines the reservation need around total dimensions for large bags, and affected trains provide seats with oversized baggage space. If your suitcase is large, reserve the appropriate seat before boarding rather than assuming you can place it wherever there is room.
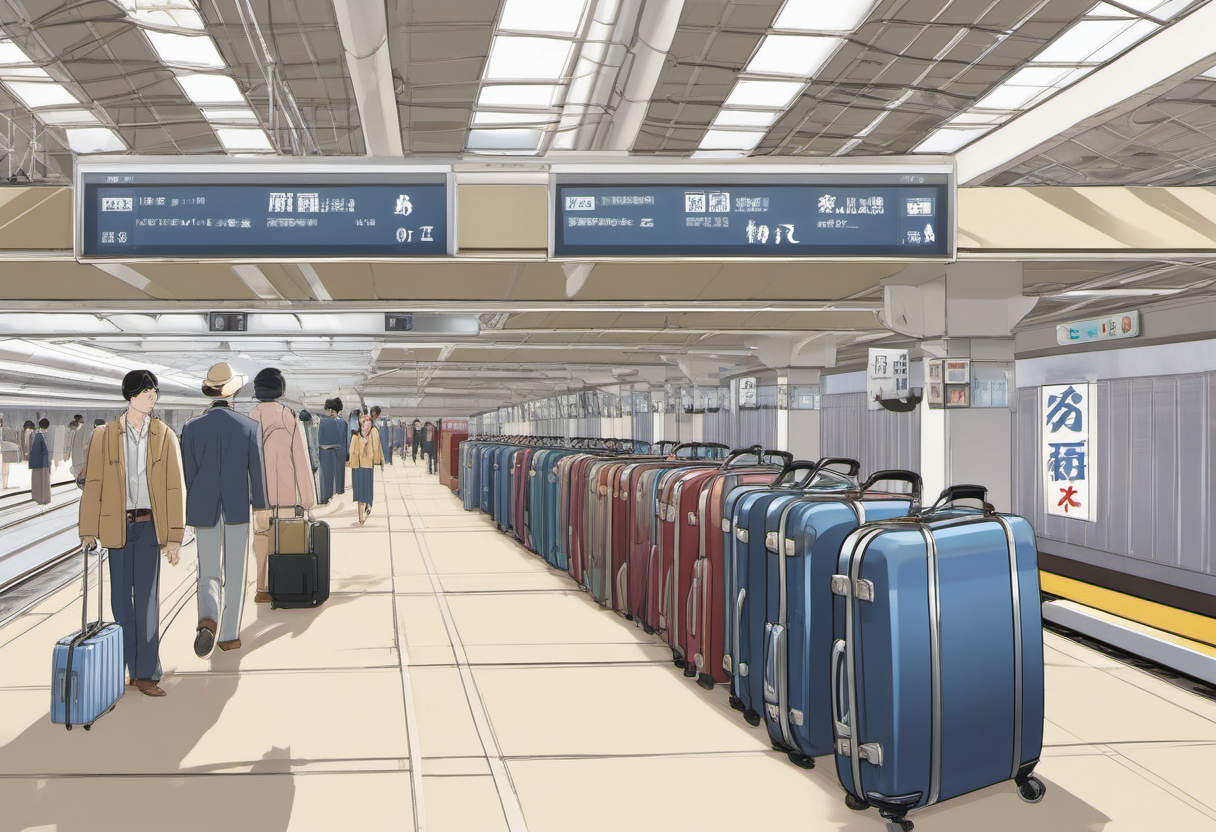
The easiest prevention is to measure at home. Add height, width, and depth including wheels and handles. If the total pushes into the oversized range, make the luggage reservation part of the train-booking process. If you are close to the limit, treat the bag as operationally large anyway. Stations are crowded, elevators can be distant, and a suitcase that is technically allowed may still be unpleasant during peak transfers.
Consider luggage forwarding for multi-city trips. Japan’s delivery services can send bags between hotels, which turns a difficult station transfer into a day with a backpack. This is not always necessary, and it requires timing discipline, but it can be worth more than a premium suitcase on routes with stairs, local trains, and small hotel rooms.
Airport Arrival Workflow: What to Do in the First Ninety Minutes
Your first priority after landing is to restore controlled connectivity. Turn off airplane mode, confirm that the travel eSIM connects, and verify that maps and messaging work before leaving the secure area. If the eSIM fails, use airport Wi-Fi to recover the provider instructions rather than boarding a train with no data.
Second, complete immigration and customs using the prepared Visit Japan Web workflow or the available airport process. Keep passports, QR access, accommodation address, and onward information reachable. Families should assign one adult to documents and one to bags so that phones are not passed around at the worst moment.
Third, handle money and local movement. If you already have mobile IC, confirm it can top up. If you need a physical card, look for the official airport rail counter or vending option appropriate to your arrival airport. If card availability is limited, buy a paper ticket for the first ride and solve the IC card in the city after sleep and food.
Fourth, do not activate a rail pass just because you are at the airport. Activate it when the validity window matches your long-distance travel. If your first two days are Tokyo neighborhoods, a seven-day pass should usually not start on arrival day. Use the IC card for local travel and preserve pass days for the expensive segments.
Decision Checklist Before You Buy Anything
Use this checklist a week before departure:
- Confirm your phone is eSIM-compatible and unlocked.
- Install or prepare the travel eSIM and save offline activation instructions.
- Complete Visit Japan Web and save access details.
- Decide your IC card preference: mobile Suica/PASMO, visitor card, or paper-ticket fallback.
- Build a day-by-day list of intercity train legs.
- Compare point-to-point fares, regional passes, and the national Japan Rail Pass only for the dates you will actually travel.
- Reserve critical Shinkansen seats during busy periods.
- Measure large suitcases and reserve oversized baggage space if needed.
- Keep a backup payment method and cash reserve for top-up or ticket machines.
- Save hotel addresses in Japanese and English for forms, taxis, and delivery services.
Bottom Line
A smooth Japan arrival is built before the flight. The eSIM gives you control, Visit Japan Web reduces airport paperwork friction, the IC card handles daily movement, and the rail pass is a route-specific purchase rather than a default badge of preparation. If you add luggage planning to that sequence, you avoid the most common first-trip mistakes: no data, no easy local payment, an overpriced pass, and a large suitcase with no reserved space.
For the broader travel stack, pair this setup with our guides to eSIM travel data plans, booking directly versus through travel portals, carry-on liquids and smart luggage rules, and the full planning category.